


Razor-thin silicone
1Super lightweight, seamless design provides sleek, undetectable coverage & cleavage.
The Muwix Cleavage Bra is more than a typical sticky bra—it is a seamless, sculpting solution designed to create fuller-looking, beautifully shaped cleavage. Made with lightweight silicone and flattering contour cups, it enhances your natural shape without bulky padding, underwire, or a traditional push-up bra.


Couldn't load pickup availability


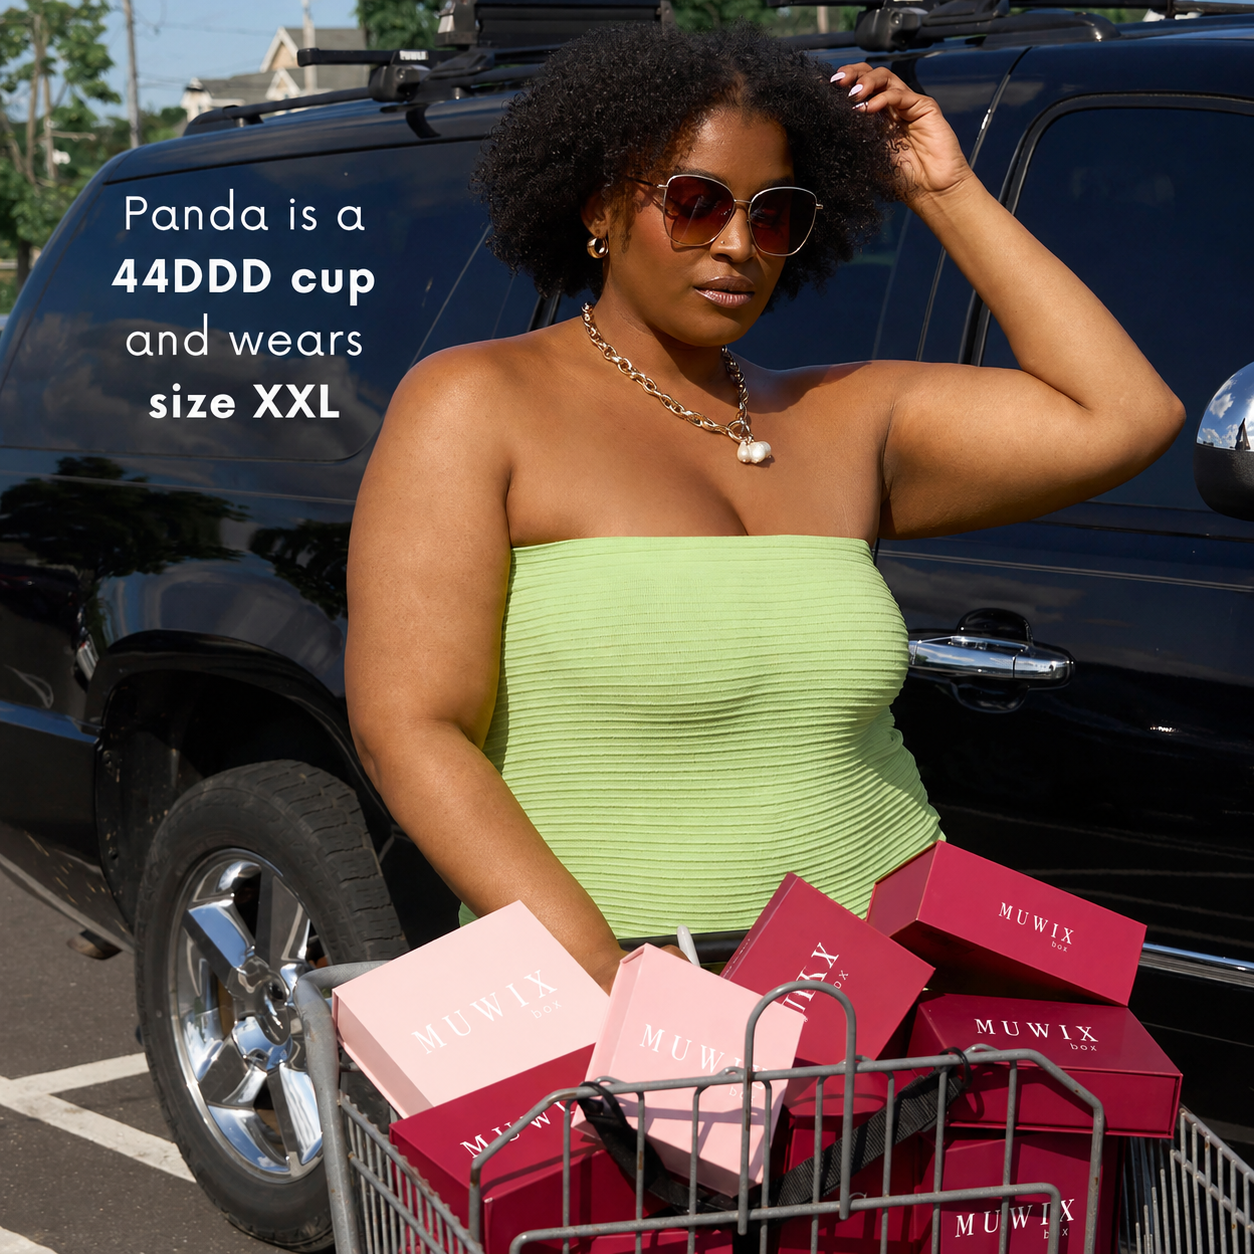

Now in 5 EXPANDED SIZES to fit & flatter every body.
*New customer savings
Super lightweight, seamless design provides sleek, undetectable coverage & cleavage.
Bring your boobs together & clasp to secure fuller-looking cleavage.
Position near your armpits for perfect placement and easy application.
Designed to mimic the shape of the actual breast. No pancake boobs here!
Lightweight shaping, seamless coverage and a secure fit—designed to create naturally fuller-looking cleavage beneath your favorite outfits.

Natural-looking lift and subtle shaping achieved. See why women are loving the MUWIX™ Cleavage Bra for everyday outfits, special occasions and confidence-boosting support.
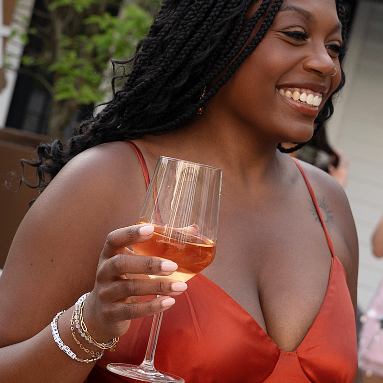
“The MUWIX™ Cleavage Bra passes the ‘dance all night’ test without a single slip. You’ll be glad to have this when that special event or date night rolls around.”

“This is the solution for all those special-occasion tops and dresses that don’t work with a regular bra. It’s flattering, seamless and sleek—10 out of 10.”

“Finding something that lifts, supports and still gives a cute, natural-looking shape felt impossible—until I tried MUWIX™. It feels secure without looking bulky under my clothes.”
Follow these simple steps for a secure fit, natural-looking lift and beautifully enhanced cleavage.
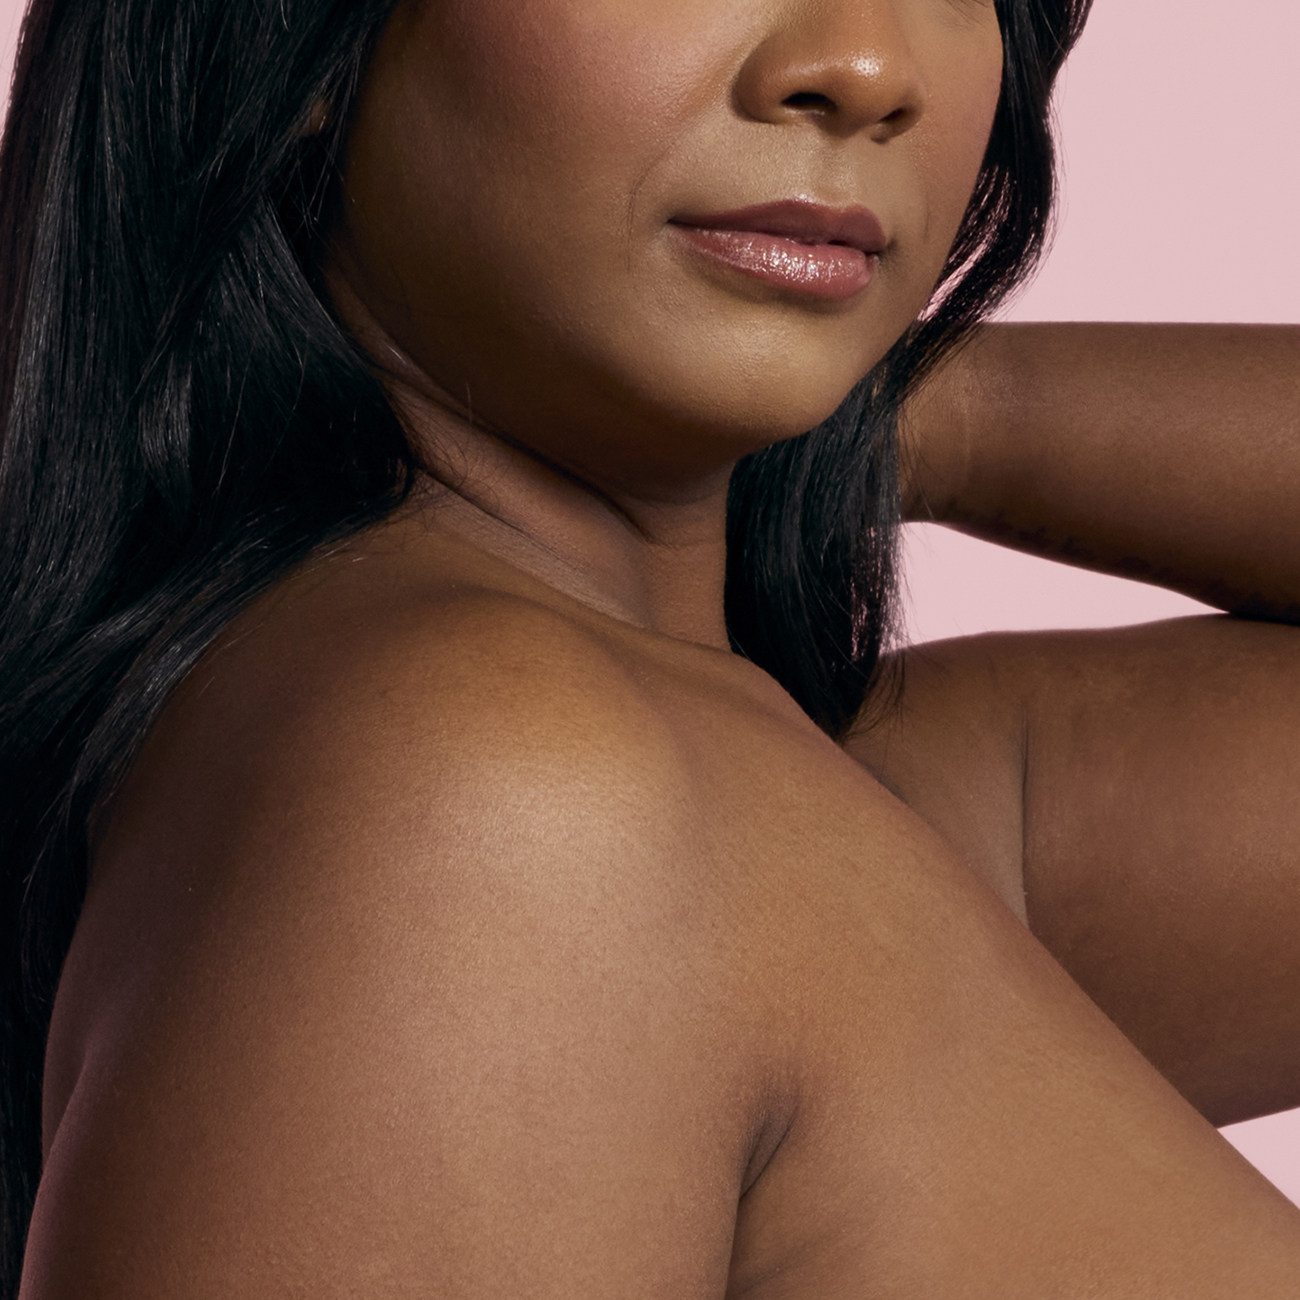
Make sure your skin is clean, completely dry and free from lotions, oils or powders. Peel the protective backing from each MUWIX Cleavage Bra cup and keep the backing for storage. Do not clasp the cups together yet.

Apply one piece at a time. Loosely position each cup over the breast with the logo side facing upward and the outer wing pointing toward your armpit.
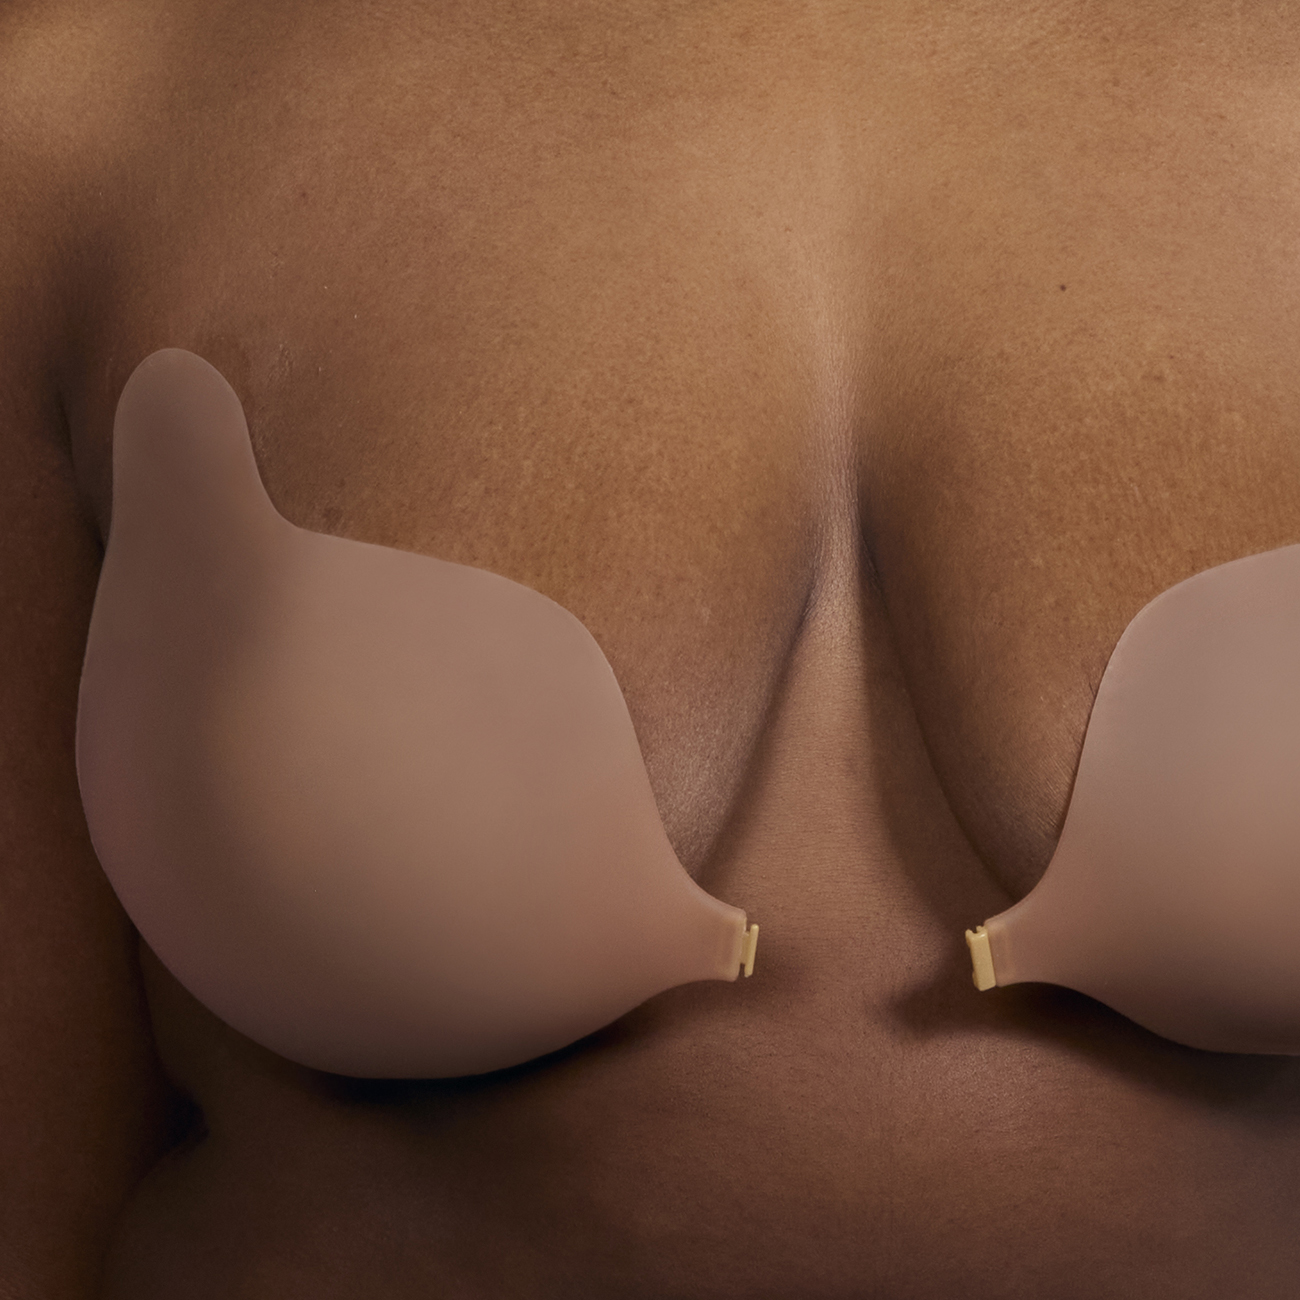
Starting from the outer wing, press and smooth each cup firmly onto the breast. Avoid repeatedly repositioning the cups after they make contact with the skin, as this may weaken the adhesive.
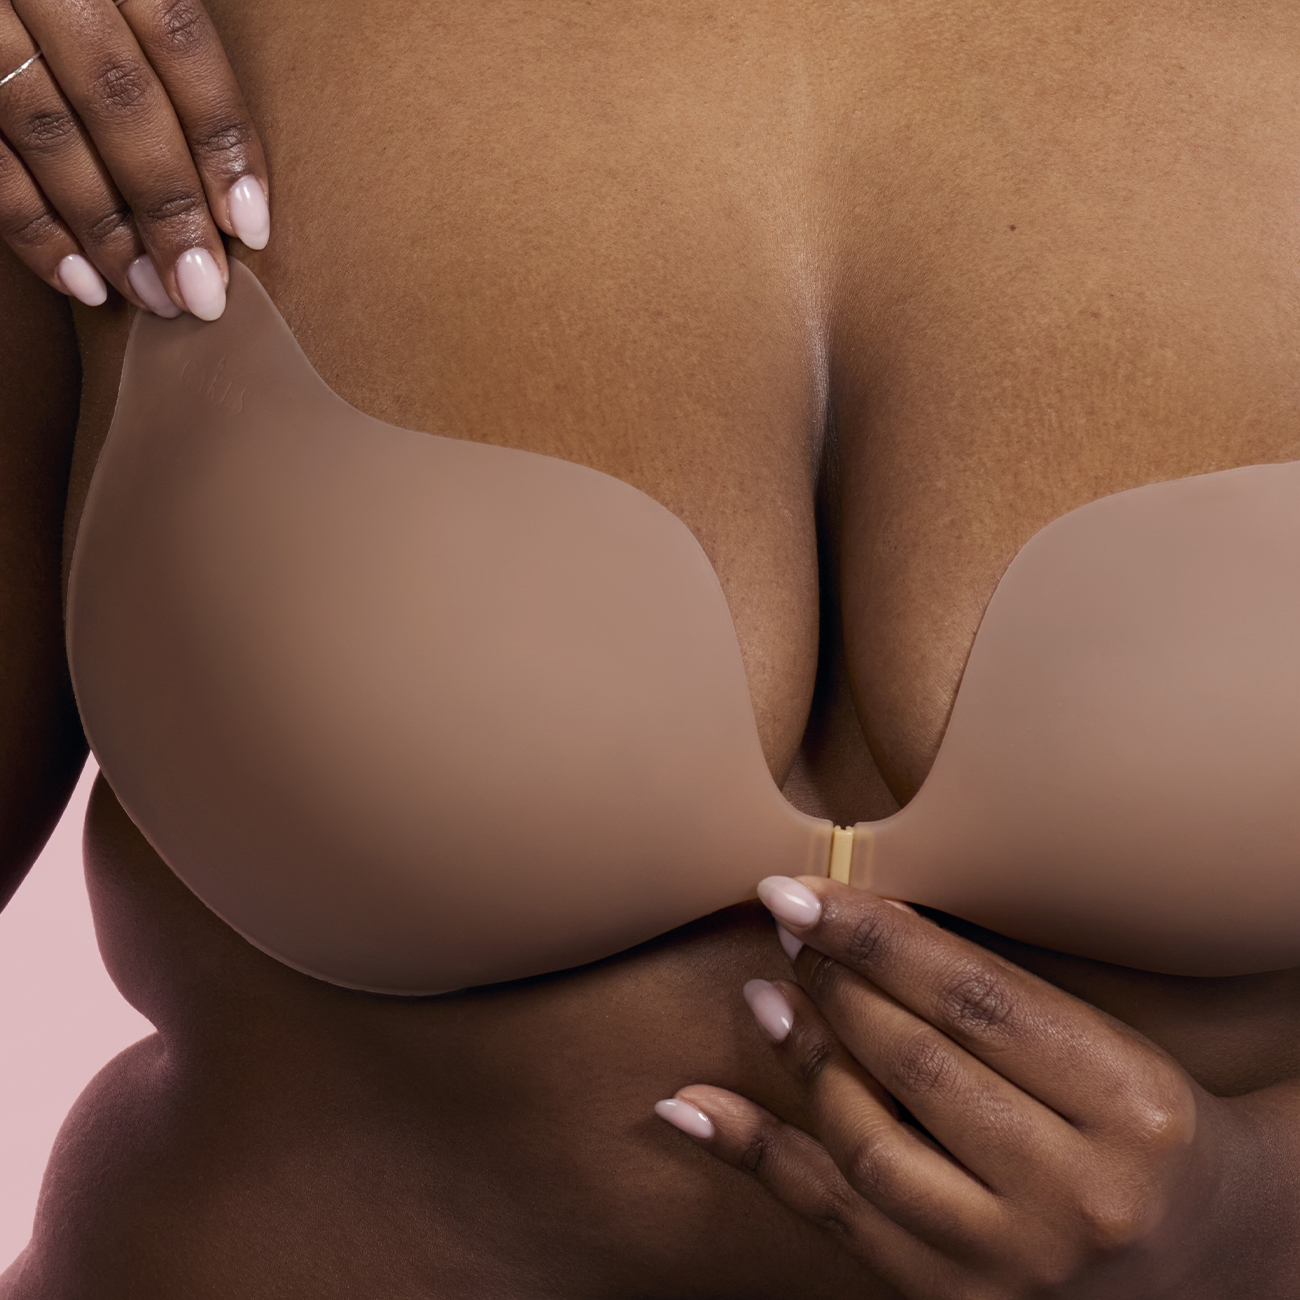
Once both cups feel smooth and secure, gently pull the cups toward the center and fasten the front clasp to create your desired lift and cleavage.
Most commonly asked questions about the MUWIX Cleavage Bra.
 How should the MUWIX Cleavage Bra be applied?
Start with completely clean, dry skin. Do not apply body lotion, oil, perfume or powder beforehand. Position each cup separately with the tapered wings pointing toward your underarms, smooth the cups firmly onto your skin, then bring the center pieces together and secure the clasp.
How do I choose the right size?
Select your size according to your usual bra cup size and the MUWIX size guide. If you are between two sizes, choose the smaller option for stronger cleavage and less coverage, or choose the larger option for more coverage and a softer shaping effect.
Does the MUWIX Cleavage Bra provide lift?
The MUWIX Cleavage Bra is primarily designed to bring the breasts together, create fuller-looking cleavage and provide natural shaping. Because it has no straps or back band, it does not provide the same vertical lift as a traditional structured bra.
Is the MUWIX Cleavage Bra adhesive?
Yes. The inner surface uses a skin-friendly adhesive to help the cups remain securely in place. For the strongest hold, apply it only to clean, completely dry skin. Oils, lotions, powders and heavy perspiration can reduce the adhesive performance.
After wearing, gently hand wash the adhesive surface with mild soap and water, then allow it to air dry naturally.
Which way should the MUWIX Cleavage Bra be worn?
The center clasp should face inward between the breasts, while the tapered wings should point outward toward the underarms. Position both cups at an equal height before connecting the clasp to create a balanced, natural-looking result.
How does the MUWIX Cleavage Bra create cleavage?
Each cup is first positioned slightly toward the outside of the breast. When the two center sections are pulled together and clasped, the breasts are gently brought toward the center to create a fuller-looking neckline.
Placing the cups slightly farther apart before fastening generally creates a stronger cleavage effect, as long as the fit remains secure and comfortable.